Irvine, California, December 29, 2023: Bringing Autodesk Revit models into HyperSkill for immersive and interactive experiences requires a systematic approach. This step-by-step guide walks you through the process, ensuring a seamless transition from Revit to Unity and ultimately to the HyperSkill platform.
Step 1: Download and Install Revit
Begin by downloading and installing Autodesk Revit from the official Autodesk website.
Step 2: Download and Install Twinmotion Plugin
Enhance compatibility by downloading and installing the Twinmotion plugin for Revit based on the Revit version.
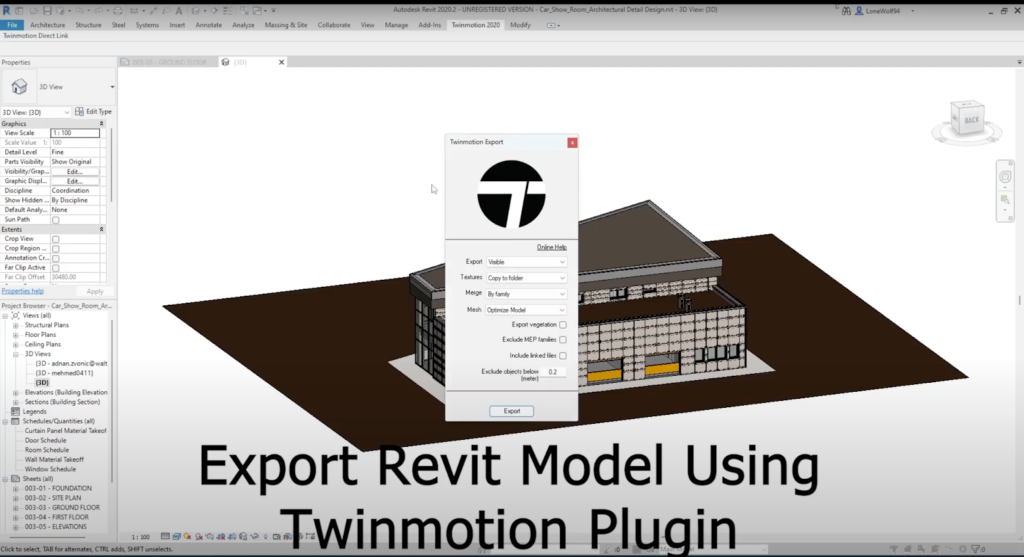
Step 3: Export Revit Model Using Twinmotion Plugin
Open your Revit model and make sure it’s in 3D view , utilize the Twinmotion plugin, and export the model in FBX format, ideal for Unity.
Step 4: Import FBX File into Unity
Download and install Unity, create or open a project, and import the FBX file into Unity using the drag-and-drop method or the Import menu.
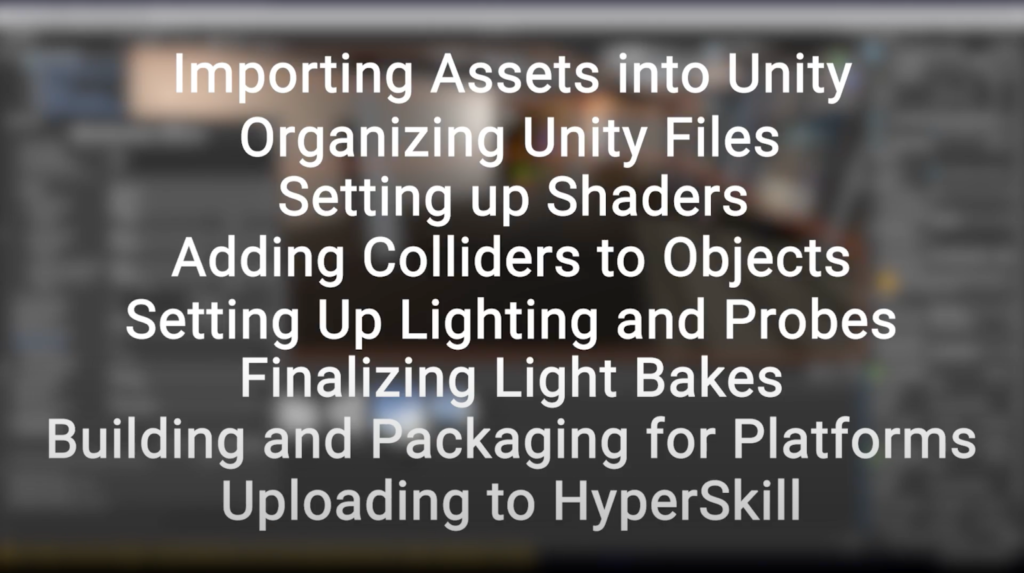
Step 5: Import Assets into Unity
Ensure textures and materials from the Revit model are imported along with the FBX file.
Step 6: Organizing Unity Files
Maintain project organization by creating folders for different assets, keeping the Unity workspace structured.
Step 7: Setting Up Shaders
Apply Unity shaders to materials to achieve desired visual effects, utilizing the built-in shaders with customization options.
Step 8: Adding Colliders to Objects
Enhance interactions within HyperSkill by adding necessary colliders to objects in Unity.
Step 9: Setting Up Lighting and Probes
Configure Unity’s lighting system and utilize light probes to match the desired visual environment within HyperSkill.
Step 10: Finalizing Light Bakes
Optimize lighting quality and performance by finalizing light baking, if using real-time lighting.
Step 11: Building and Packaging for Platforms
Prepare your Unity project for HyperSkill by building it for the target platforms, ensuring compatibility.
Step 12: Uploading to HyperSkill
Navigate to the HyperSkill platform and follow the provided instructions to upload your Unity project.
Conclusion:
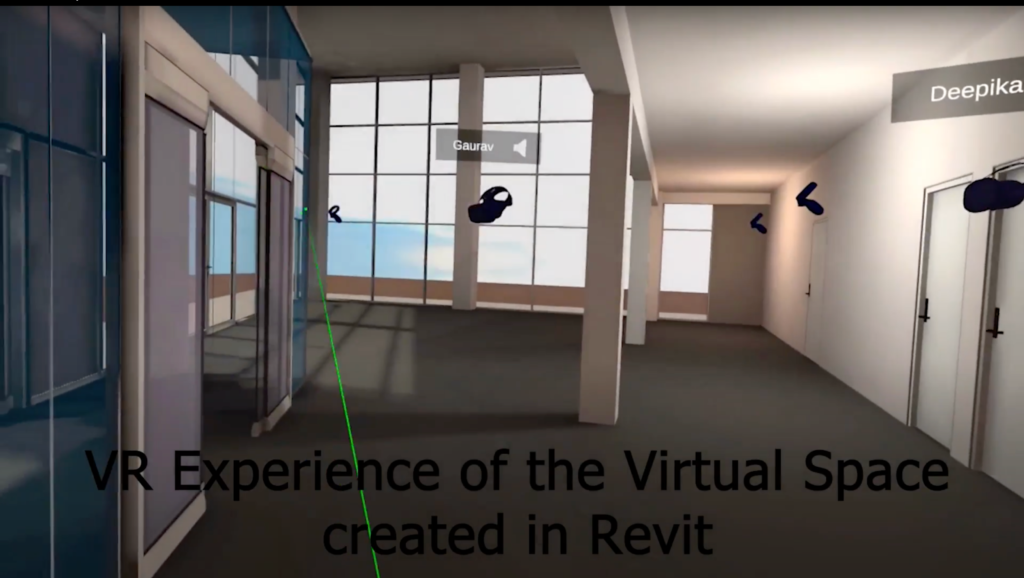
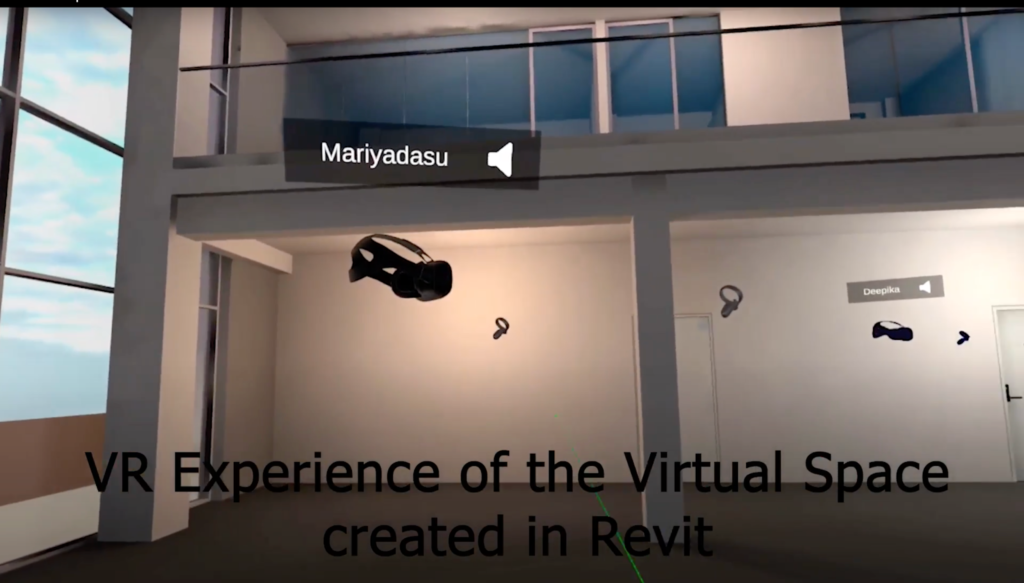
This comprehensive guide empowers you to seamlessly integrate Revit models into HyperSkill, unlocking the potential for immersive and interactive experiences. By following these steps, you can navigate the transition from Revit to Unity with confidence, ensuring your project aligns seamlessly with HyperSkill’s capabilities.